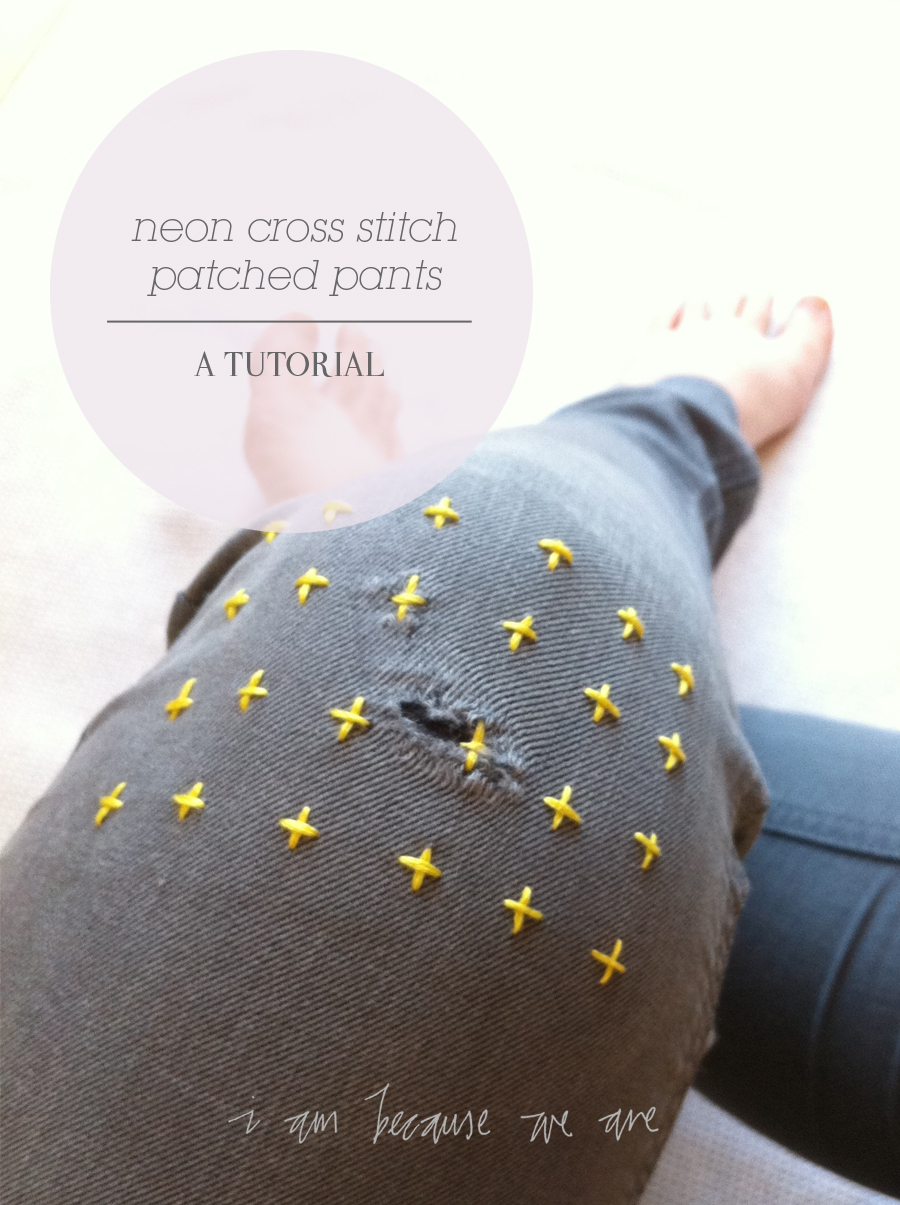
i bought this pair of pants from gap and after two wears and one wash the fabric at the knee died. it was going to be way too much of a pain to take them back for a refund so i decided to patch them. i think i actually like them better now!


you will need:
1 // a pair of holey pants
2 // fabric to patch the hole
(choose something that matches the stretch level of the item you're patching)
3 // a small embroidery hoop
(it needs to fit down the leg of the pants)
4 // embroidery cotton in your chosen colour
5 // some safety pins that i thought i'd need but didnt...

1 // cut your patching fabric slightly larger than the inner circle of the embroidery hoop.
2 // sandwich the pants and patch fabric between the hoops and tighten enough that you can still tug the fabric layers to get them straight and firmly stretched. once you've done this tighten the hoop all the way up.
3 // attach your thread from inside the pants.
catch a few threads of the patch fabric only, draw your needle through leaving a tail and then take the needle back through the same holes to give you a loop. pull your needle and thread through the loop to tighten.
(if that's a bit hard to follow there is a quick tutorial here).

4 // start stitching.
i chose to do + shaped crosses, but you could do the standard x shape or lines or stars... whatever you like.
5 // repeat at regular intervals.
6 // when you're done, tie off your thread the same way we started and trim the patch fabric close to the stitching.
i chose to do + shaped crosses, but you could do the standard x shape or lines or stars... whatever you like.
5 // repeat at regular intervals.
6 // when you're done, tie off your thread the same way we started and trim the patch fabric close to the stitching.

i'm playing along with everyone at my creative space.

7 comments:
Great idea! I've struggled to know how to attach a patch successfully under similar tears before, but hadn't thought of making a feature of the stitching. Thanks for the idea.
What a great idea! Your new jeans look great.
what a funky solution! love. :)sarah
These look awesome! Thanks so much for sharing such a great tutorial. Am off to have a potter around your lovely space. HOpe all is well in your little slice of the world :)
That is so cool - and I agree, better than before!
Fantastic! I have often thought about doing something like this, but never got around to it! well done, they look great!
Snap! I like your thinkin'. Except I didn't think holes in knees (you clever lady, you). I was looking at our damaged outdoor furniture (I think knees might be more successful).
Post a Comment